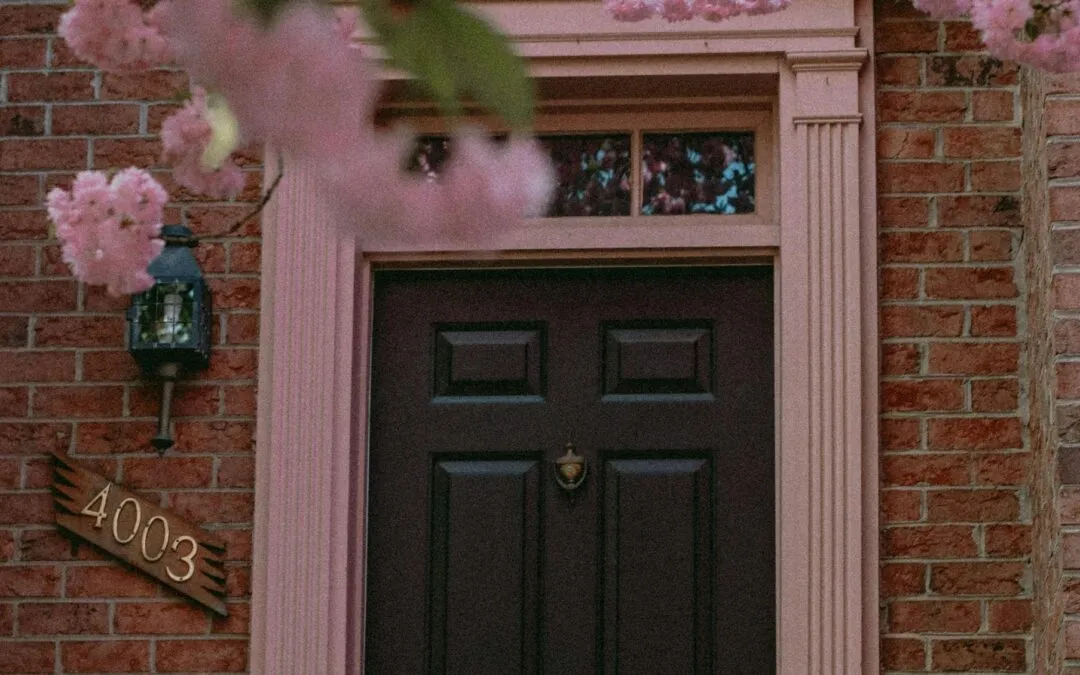
There’s nothing like the beauty of French exterior doors. Defined by their large glass panes, often in a grid, and framed by solid hardwood, French-style doors are elegantly beautiful and functional. French doors let in plenty of natural light while giving you an amazing view of the outside world whenever you want.
No other type of door adds the same beauty and functionality, and when you order custom glass doors from Master Doors, you’ll truly be getting the best. We go above and beyond industry standards with the option to add thick, 3M-treated glass, which improves insulation and security. With Master Doors, you’re guaranteed an excellent door that could last for decades.
Here’s our homeowner’s guide for perfect French Door installation in an existing home.

How Do You Install French Exterior Doors?
I. What You Need
Aside from the doors themselves, along with the associated hardware like hinges and handles, you’ll need a number of other tools:
- Tape measure
- Level
- Pry bar
- Carpenter’s Square
- Rubber mallet
- Power drill + bits
- Caulking gun
- Waterproof caulk
- Shims
- Nails
- 3-inch screws
In addition, don’t forget your safety gear. Gloves and, especially, eye protection are an absolute must. You’ll also want sturdy footwear and thick clothes just in case the worst happens, and the glass is broken.
Finally, installing French doors is not a solo job. You’ll need two people to handle the doors, and a third person acting as a spotter can be useful as well.

II. Installing Your French Doors
1 – Measure again to be safe
Before you get to work, double-check your measurements. Do one last round to make sure your new French doors will fit into the existing door opening. The last thing you want is to remove the old door only to discover the new one doesn’t fit.
Also, double-check that the doors will have room to swing freely, without hitting anything.
2 – Remove the old door and frame
Take the old from the hinges, then remove the hinges themselves. Carefully place it aside. Then it’s time to take off the existing trim. This is best done by using a pry bar and a mallet to pull the trim off the frame. If you’re careful, you may even be able to reuse it. However, if it gets damaged, you’re better off buying new trim than trying to patch the old.
3 – Ensure the opening is level
You need a level and square opening for your French doors to fit properly and provide a tight seal. If the opening isn’t quite level, you can use shims when installing the frame to make up the difference and ensure the doors are hung correctly.
4 – Install the door frame
Your Master Doors French doors come pre-hung with the aluminum sill attached to the frame. With help from your partner, lift the entire pre-hung unit into place and hold it there. Use a level to check that it’s sitting square; if not, use shims to level it. Once you’re happy with the positioning, use the drill to make holes through the frame and shims, followed by hammering in the nails.

5 – Hang the doors
It’s time to get your new French doors in place. Since the doors are pre-hung with hinges already installed, simply hang them on the frame, then use the included hardware to mount them. Ensure the doors are hung square and level, and that they open and close properly, before moving on. Additionally, all gaps around the door should be the same size.
6 – Secure the Frame
Once the doors are properly hung, secure the frame by using the included hardware to further fasten the hinges into the frame. Then nail the frame in place and ensure any shims you used are secure. Fill all gaps between the door and the wall with foam.
7 – Finishing up
Finally, it’s time to finish up the work. It’s time to reinstall the trim you removed or install new trim and brickmould. You also need to install the other hardware: the strike plates and locks at the top and bottom, as well as the doorknob and main lock if they aren’t already installed. This is a simple job; just follow the directions that come with the door. Finally, apply caulking all around the brickmould on the exterior side and allow it to dry for 24 hours.
III. Common Mistakes When Installing French Exterior Doors
Be careful not to make any common mistakes!
- Incorrect measurements. Always measure everything at least twice to avoid mishaps.
- Rough handling. Be VERY careful when handling your French door. Take care not to let it hit anything, or else you could dent the wood – or even break the glass!
- Poor door alignment. Take your time when installing the frame. Check and double-check its level and use shims to correct even minor level offsets. The tighter the alignment, the better the fit and insulation.
- Hinge misalignment. Even with pre-hung doors, ensure all hardware is properly fastened. Don’t rush the end of the job. Ensure everything operates smoothly. Otherwise, it’ll put additional strain on the door or the frame, leading them to wear out more quickly.
Do It Right with Master Doors
Master Doors can provide you with some of the best custom French exterior doors in Canada, built to your specifications with exact measurements that ensure a perfect fit every time. The thick, beautiful glass in our doors offers superior visibility with enhanced insulation, bringing you years of joy every time you look outside.
Contact us to learn more, or request a quote on your own custom-designed doors.